
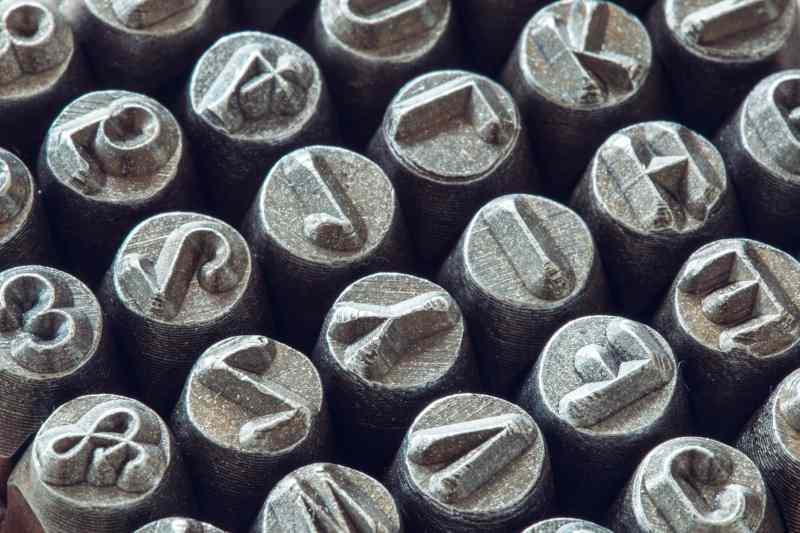
A hand stamp and a machine stamp can carry the identical character set, cut from the same steel, and still produce very different results in the field. The difference usually isn’t the tool. It’s the angle at which the stamp meets the workpiece, and whether that angle holds steady from the first tap to the final strike.
Skewed, doubled, or half-struck impressions are among the most common complaints operators bring to us, and most of them trace back to alignment, not equipment quality. Manufacturing tolerance guidance from organizations like NIST treats dimensional consistency as a controlled variable in any marking or measurement process, which is exactly what a skewed hand stamp impression fails to deliver. This guide breaks down what causes the problem, how machine stamps avoid it by design, and what you can do by hand to get a square mark every time.
What Causes a Skewed or Double-Struck Hand Stamp Impression?
A hand stamp impression forms in a single instant of contact, and everything that happens in that instant is controlled by the operator’s hand rather than a fixture. Three things typically go wrong:
- Off-angle contact. The stamp face isn’t held perpendicular to the workpiece, so one edge of the character strikes before the other and the impression comes out shallow on one side, deep on the other.
- Movement between blows. When a mark needs more than one hammer strike to reach full depth, the stamp shifts slightly between taps, producing a doubled or ghosted outline.
- Rotation on impact. The stamp twists in the hand at the moment of the strike, which skews the entire character set rather than just one edge.
Any one of these can turn a clean, legible mark into something that fails a legibility check or has to be reworked on a part that’s already been machined or finished.
How Do Machine Stamps Control Skew Angle That Hand Stamps Don’t?
Machine stamps solve this problem structurally instead of relying on operator technique. The stamp is held in a fixture or press ram that fixes its angle relative to the workpiece before the strike ever happens, and the same fixture repeats that angle on every cycle. See Machine Stamps vs Hand Stamps: How To Choose the Right Marking Tool for how that trade-off plays out across production volume and part variety.
| Factor | Hand Stamp | Machine Stamp |
|---|---|---|
| Alignment method | Operator’s hand and eye | Fixed guide or press fixture |
| Consistency across strikes | Varies by operator skill and fatigue | Repeats identically cycle to cycle |
| Correction mid-strike | Not possible once impact occurs | Not needed; angle is fixed before impact |
| Best suited for | Low volume, portable, one-off marks | High volume, tight tolerance, repetitive marks |
The takeaway isn’t that hand stamps are inferior. It’s that hand stamping shifts the alignment job from the tooling to the person holding it, which means technique matters more.
How Should You Hold and Strike a Hand Stamp for a Square Mark?
Getting a square impression by hand comes down to controlling three things before you swing the hammer: your grip, your sightline, and the strike itself.
Hold the stamp with your fingers low on the shank, close to the workpiece, rather than up near the top where small wrist movements translate into larger angle errors at the marking face. Before striking, sight down the length of the stamp from directly above to confirm it’s perpendicular to the surface in both directions, not just the one that’s easiest to see. Then commit to a single firm strike rather than several light taps. Repeated light taps are the most common cause of doubled impressions, because each tap is a fresh chance for the stamp to shift. For guidance on how much force that single strike should carry by material, see How Hard Should You Strike a Hand Stamp? Force and Hammer Weight by Material.
If a mark does come out shallow, resist the urge to reposition and strike again in the same spot. A second strike at even a slightly different angle will double the impression rather than deepen it cleanly.
What Tools Help Improve Alignment?
Technique closes most of the gap between hand and machine stamping, but a few low-cost tools remove operator error from the equation almost entirely, especially for repetitive marking or less experienced operators.
- Stamp holders with angle guides. A cylindrical holder that grips the stamp shank and includes a flat reference edge helps you sight perpendicularity at a glance.
- Spring-loaded stamp holders. These keep the stamp seated against the workpiece under light pressure before the strike, reducing shift at the moment of impact.
- Vise or drill-press-mounted fixtures. For flat parts that can be clamped, mounting the stamp in a drill press chuck (with the machine off) and lowering it by hand gives you a fixed vertical path for the strike.
- Reference blocks. A simple squared block placed beside the workpiece gives your eye a straight edge to check the stamp against before striking.
None of these turn a hand stamp into a machine stamp, but they remove the guesswork that causes most skew and doubling problems.
When Does Misalignment Mean It’s Time for a Machine Stamp Instead?
If a job requires tight, repeatable placement across dozens or hundreds of parts, hand stamping technique alone may not close the gap reliably enough. Watch for these signs that the job has outgrown hand stamping:
- Rework or scrap rate from skewed marks is high enough to affect throughput.
- The same operator is marking the same part number hundreds of times per shift.
- Placement tolerance on the part drawing is tighter than a hand-held stamp can consistently hit.
At that point, a fixture-mounted or press-driven machine stamp removes alignment from the list of variables entirely. Our Custom Hand Stamps page covers what hand stamping still does well, and where the line typically falls.
Common Alignment Mistakes to Avoid
Most alignment problems come down to a short list of habits, and they’re worth checking against before you assume the stamp itself is at fault.
- Striking at an angle without sighting the stamp first
- Repositioning and re-striking instead of committing to one firm blow
- Using a worn or loose-fitting stamp holder that lets the stamp shift under impact
- Applying force well above or below what the material calls for, which can cause the stamp to skip or twist
- Marking on a surface that isn’t flat or supported, which lets the workpiece move instead of the stamp
If you’ve ruled these out and marks are still coming out inconsistent, it may be worth checking the stamp’s own geometry. Our guide to Hand Stamp Dimensions: Shank, Body, and Striking Face explains how a worn or mismatched striking face contributes to the same symptoms.
For marking jobs where alignment tolerance is critical, request a quote and our team can help determine whether a hand stamp with the right accessories will hold up, or whether a machine-stamp setup is worth the investment.
